
A Windows Recovery Disk can repair Windows 7 and restore Windows to its factory default state. If you don’t have a Windows 7 Recovery Disc, you can get from our CompuCleverGEAR site.
How to Repair Windows 7
This process will repair your systems Windows files and is useful for correcting issues within the operating system itself; the process will not delete your personal files or data. Windows Store programs are also safe, but you may need to reinstall third party programs in some cases.
Insert the USB key, Restart your system. Wait for the first screen to pop up, then, click F8 or F12 (you can see which shortcut key on the screen) to enter the boot menu. Then select USB HDD option on the boot menu.
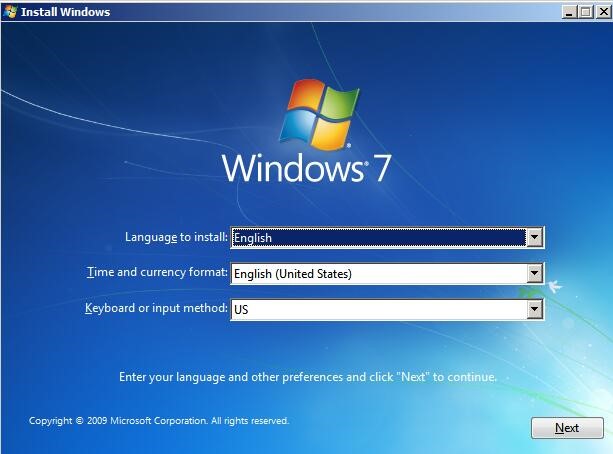
Select the Time and Keyboard options, and click “Next”

Click “Repair your computer”

Select the first option: “Use recovery tools that can help fix problems starting Windows. Select an operating system to repair”, click “Next”.
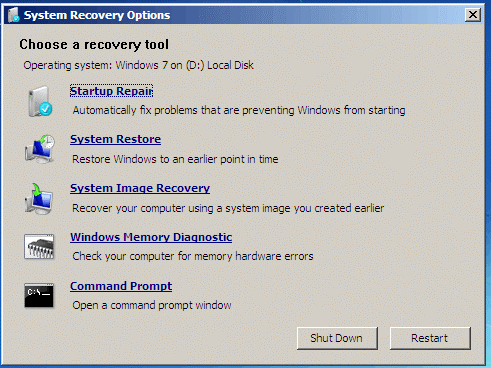
Choose a recovery tool base on your computer problem:
1) If you have issues about starting, click “Startup Repair”. If it detects a problem, it will automatically fix the problems that are preventing Windows from starting. If not, please select another option.
2) If you want to restore Windows to an earlier point in time, please click “System Restore”. If you have more than one save point to restore please do them in the order of most recent to oldest. You may have to restart the computer between each restore to complete the restore process, the computer will tell you is you need to restart the system.
Windows 7 is set to automatically create Restore points so even if you have not created any but have used the system for a while, there normally will be several restore point to choose from. Using the “System Restore” may remove programs (if they were installed after the date you go to they will need to be installed again), but it will not affect your data files.
3) If you want to recover your computer using a system image you created earlier, please click “System Image Recovery”. (Please note, using the “System Image Recovery” will result in data and personal files being erased, as well as programs (unless you created the image after installing your programs). We advise only using this option when all else fails and after your data files are backed up.) It will search on your system to find the image. If you backup the system image on a DVD, you need to insert the DVD.
Create System Recovery Image
In case the system you purchased did not have an image created you can do this for yourself. If you are organized you could create one after your programs are installed, this would mean you would only need to backup data files and restoring the image would correct Windows and install all of your programs too!
If you would like to create an image please perform the steps detailed below:
Click Start (normally in the lower left corner of the screen)
Click “Control Panel”
Click “System and Security”
Click “Back up your computer”
The Backup and Restore Center then opens.
Click “Create a system image”
Windows looks for available backup devices, such as a hard drive, DVD burning drive, or network drive.
Choose the location to save your system image
Click “Next”
***Do not save the backup to the recovery partition: FACTORY_IMAGE or Recovery. Doing so corrupts the recovery information.
Confirm the settings, and then click “Start backup”
***Make sure that you have enough blank space on the external drive or enough blank DVDs to create the system image.
Windows will then prepare to create the system image. (If you are backing up to DVD, label and insert a blank DVD in the DVD drive.)
If you are backing up to DVD and a message displays requesting to format the DVD, choose to format the DVD.
If using DVDs label and insert a blank DVD when you are prompted. Continue to follow the on-screen instructions until the image is complete. This might take from several minutes to several hours, please store the backup in a safe place once the image is complete.