• Home
  • Products
  • Purchase
  • Support
  • Company

CompuClever Blog

How to Turn Your Old Computer Into a Media Server

May 25, 2016 by Charles Edward

Many of us have one old — but still usuable — computer sitting in a closet somewhere around the house. Here’s a quick and easy way to convert it into a home media server.

Everyone loves getting a new computer. Switching on a brand-new and more powerful PC is a bit like playing in freshly-fallen snow. For a little while at least, a lightning-fast new computer offers endless possibilities.

However, there is one nagging question that everyone has when purchasing a new computer: what do you do with the old one?

Today we’re going to explain how to extend the life of your old computer by turning it into a media server.

How to Access Movies, Music and Photos Stored on Your Old Computer

Most people have at least one old computer gathering dust in a cupboard or the bedroom closet. Old PC’s can be recycled, but it’s a bit of a pain to lug them out to the car and drop them off at the dump. As well, many people are fearful about throwing out a hard drive with its accumulated passwords and sensitive banking information that can be retrieved by crooks.

The hard drive also provides another clue about why so many people avoid recycling their computers: old computers are often filled with priceless photos as well as priceless music and video collections. And it can take some work to transfer all of these precious files to your newly purchased computer, so a lot of people just put the whole thing off, saying they’ll retrieve those photos and movies “someday.”

There is one relatively quick and easy way to quickly access and view all of these old files without ever having to do the hard work of getting them off your computer. By turning your old computer into a media server you can access your files anytime and virtually anywhere you have an internet connection.

Turn Your Old Computer Into A Media Server

Until recently it was challenging to turn an old computer into a media server. In theory it should be easy to access any Windows computer on your home WiFi network, find the file you want, and then watch it on a different computer, a device such as a smartphone, or even on your WiFi-connected TV. In practice, however, the Windows file system is not particularly intuitive, making it confusing to find and play the files you want. On top of that, trying to play a movie  can be a real challenge, depending on the codec that’s being used.

This is where media server software comes in handy. This open source software can transform your PC into a media server that can stream your content anywhere over the internet. And the content such as movies and music doesn’t necessarily have to reside on your old computer either: a media server will allow you to send content from your newer computer or device to it to stream onto your TV or home theater.

One minor caveat here: setting up a media server can be challenging. In theory you can take advantage of Windows’ native DNLA capability, but it takes a bit of effort and some trial-and-error to make it work properly. There is free media server software to choose from, such as Universal Media Server or Serviio, but these are often difficult to set up and may lack some important features.

This is why Plex is such a great choice.

How to Install Plex as Your Media Server

how to set up a home media server

Plex is probably the most popular media server platform available. The basic version of Plex is free, it’s easy to installand set up, it works on older computers, and even has smartphone apps that let you access your files just about anywhere. In a nutshell, Plex will let you set up your old computer as a central media server from which you’ll stream content to your tablet, phone, set-top box, game console or television.

What You’ll Need to Set Up Plex

You’ll need a few basic things to set up with Plex on an old computer, including:

  • A home WiFi network
  • A working computer with a functional keyboard, mouse and monitor
  • Some way of connecting your television to your home network

For this last requirement, while Plex will allow you to connect your old computer to the internet, you’ll still have to figure out how to connect your television to your WiFi network and Plex.

Luckily, the paid version Plex works with a number of third-party devices including:

  • Roku
  • Chromecast
  • Amazon Fire TV stick

These three devices are pretty handy because they all have apps that allow you to turn your smartphone or tablet into a remote control for your television. On the downside, if you have a smartphone or tablet you’ll have to purchase these apps for a nominal fee.

You can also connect your old computer to your television using an HDMI cable or even a VGA connection if both your computer and a TV have those ports. You can then send content from other devices and computers to your media server to play on your TV.

Plex Download Options

When you check out the Plex downloads page, you’ll want to download the download the Plex Home Theater option. This will allow your old computer to act as the base station for everything else on the network, storing media and distributing it to any other device that runs the application. As part of the installation process, you’ll set up your Plex account, allowing you to register all of your devices and server together.

Final Notes

The performance of your old computer may affect playback quality on your television. For example, an older computer with an older chip and less RAM may have a bit more difficulty streaming HD files. However, Plex should be able to handle the job with flair.

As well, if you’re going to use your old computer as a media server, it’s going to need tobe left on. Computers tend to “run hot” when streaming media, so this means that you’ll have to choose a well-ventilated spot to keep things cool. As well, cooling fans can be noisy and distracting, so keep this in mind when deciding where to locate your old computer-turned media server.

Let us know how things turn out!

If you have some ideas of topics you would like us to cover or have other feedback to offer, email us at: newsletter@compuclever.com.

 

Filed Under: Blog

Office 365 Versus Office 2016: What’s the Difference?

May 13, 2016 by Charles Edward

It can be confusing when trying tell the difference between Office 365 and Office 2016. In this informative blog post, we explain how they’re different so you can determine which one is best for you.

If you have purchased a new Windows computer over the past year or so, you have likely been puzzled when trying to decide which version of Microsoft Office is right for you.

A quick search online for Microsoft Office shows at least three choices: Office 2016, Office 365 and Office Online (sometimes called OneDrive).

What’s the difference, and which version should you get?

Office 365 Versus Office 2016: What's the Difference?

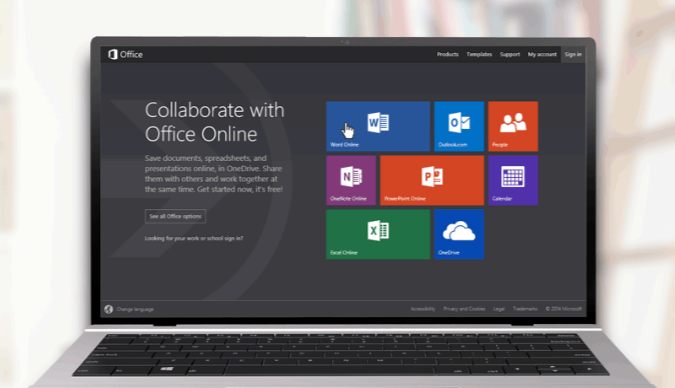
First, let’s untangle the differences between these three choices by taking a look at Office Online, the free, basic version of Microsoft’s Office suite.

Office Online is a great place to start since it offers so many of the features that make the current version of Microsoft Office so powerful, including mobile apps, online storage and online editing from any device.

What is Office Online?

Office Online is the completely free, and completely web-based version of Microsoft Office (and, just to confuse things, Microsoft sometimes calls this free service OneDrive—also the name of its cloud storage service).

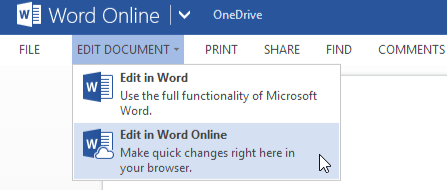
Just by signing in with your free Microsoft account you can access basic, stripped-down versions of Word, Excel, PowerPoint and several other productivity apps from any Internet browser on any computer.

Office 365 features

A main selling point of this free service is that Office Online also saves your documents automatically, as you work on them. So, you won’t lose everything you’ve typed if you lose your internet connection.

Office Online also includes several free web-based services including:

Outlook.com

Office Online is also integrated with Outlook.com. Not to be confused with the more powerful Microsoft Outlook email and calendar software program, Outlook.com is Microsoft’s simple, free web-based email app. It’s the successor to the popular Hotmail and Windows Live Mail webmail services.

As a free service, Outlook.com is simple to use compared to the more complicated Gmail, Google Inbox or the full version of Microsoft Outlook. Outlook.com also features a smartphone app which allows you to send email from any mobile device.

OneDrive

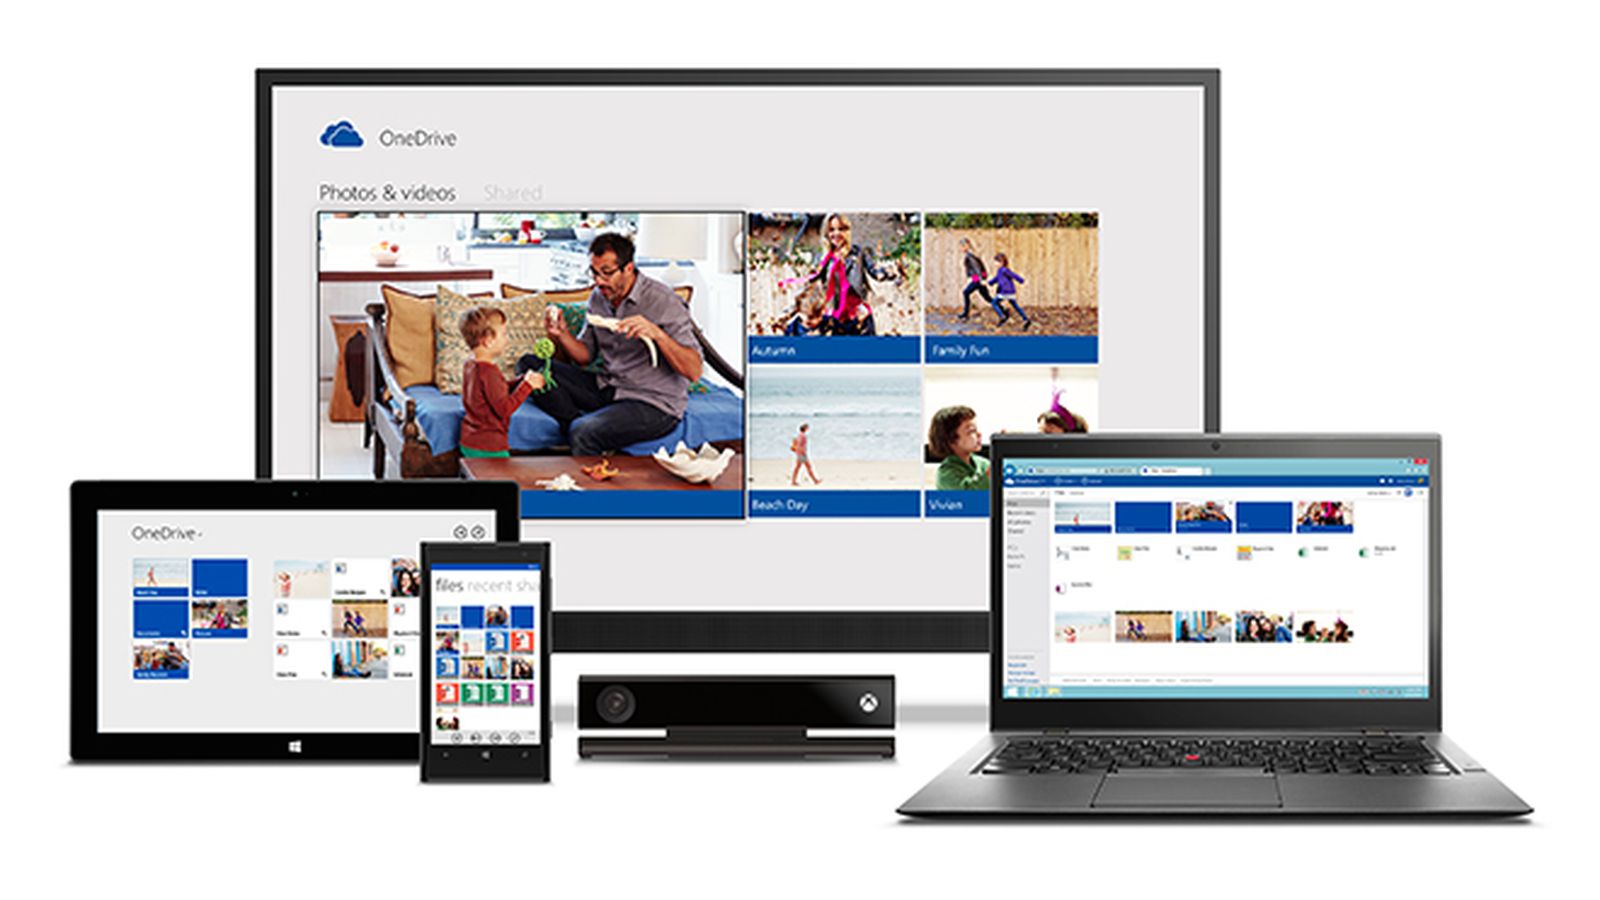
Office Online and Outlook.com are both integrated with OneDrive, Microsoft’s cloud storage service. The free version of OneDrive comes with a somewhat paltry 5GB of online storage, which should be enough to store any Office Online documents you create… but not much else compared to other online services.

Office 365 features

You can also easily insert Word or other Office Online documents from OneDrive as attachments to emails sent from Outlook.com—you don’t have to search around for and upload a document from your computer as an attachment.

Smartphone Apps

And, once again, there is a useful, free smartphone app for OneDrive that allows you to easily find and quickly share Office documents. Even as a free software suite, Office Online is a handy tool for quickly getting tasks done.

Office Online: Too Basic?

Despite all its features, if you’re looking for a suite of true productivity applications, the free version of Office Online is probably just not powerful enough. Besides the rather miniscule 5GB of complementary online storage offered by OneDrive, the free versions of Word, Excel and PowerPoint included with Office Online, are, in a word, basic.

Office online features

These no-cost versions offer none of the powerful features of their paid counterparts. Still, as a free service Office Online does provide a way to create and share basic documents, slide decks and spreadsheets, or edit existing ones… but that’s about it.

If you want to design nice-looking Word documents or use any of Excel’s more sophisticated features, such as macros, Office Online will leave you disappointed.

Instead, you’re going to have to pay for either Office 2016 or Office 365.

So, Which is Better: Office 2016 or Office 365?

This leads to the next question: is it better to pay for Office 2016, or subscribe to Office 365?

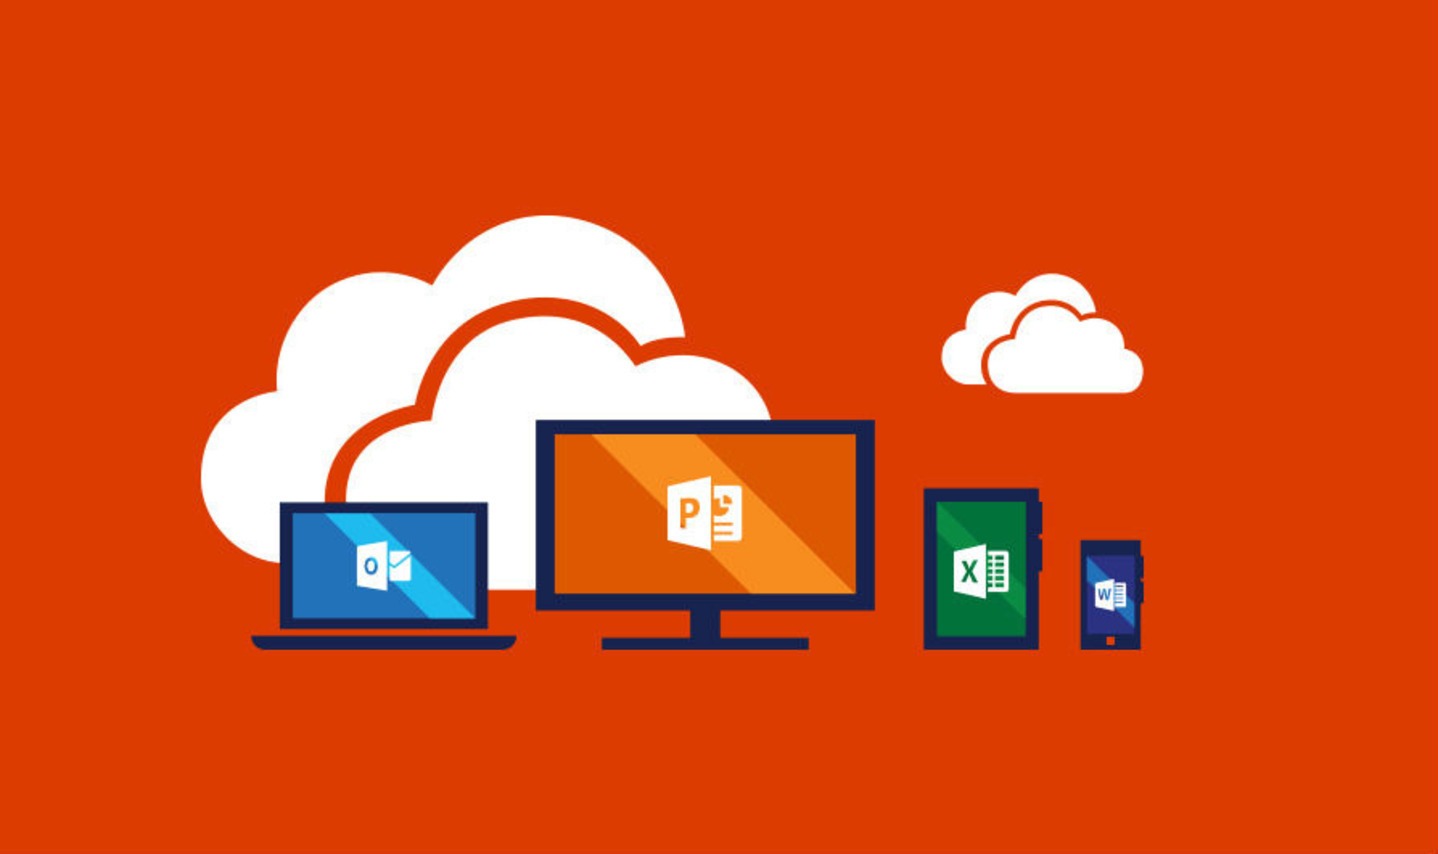
While Office Online is free, you will have to pay to purchase both Office 2016 and Office 365. Both Office 2016 and Office 365 include the powerful, fully-featured versions of Word, Excel, PowerPoint and other Office applications.

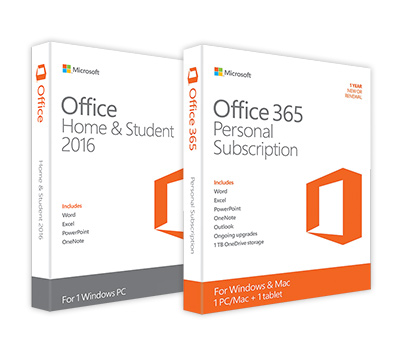
The main difference between the two is that Office 2016 is a one-time purchase, while Office 365 is a subscription-based service—you must pay every month, or every year, to renew your subscription (this chart explains the differences between the basic versions of Office 2016 and Office 365).

However both Office 2016 and Office 365 must be downloaded and installed on your computer to get them to work—despite its status as a subscription service, Office 365 still resides on your Windows PC or your Mac as a software program.

The Basics of Office 365

Office 365 is the subscription-based version of the full Microsoft Office suite. You can pay a monthly subscription of about US$10, but the annual subscription, at about US$100, is cheaper. While renewing the Office 365 subscription will cost you more from year to year, it also comes with some compelling features that may make it a better choice than Office 2016.

Office online features

For example, Office 365 subscribers receive 1TB of OneDrive online storage (Office 2016 purchasers generally do not) that can be accessed on any device. Office 365 also comes with monthly recurring Skype minutes.

Most importantly, Office 365 Home can be installed on five different PC’s or Macs as part of the subscription. This feature is ideal if your family has several computers.

There is also a cheaper Office 365 Personal subscription as well that can be installed on just one computer.

Since the Office 365 Home subscription can be shared with other members of your family, or even your friends, each person gets 1TB of storage of their own for as long as you continue to subscribe to Office 365.

That’s not a bad deal for a hundred bucks a year!

What You Get By Purchasing Microsoft Office 2016

The main selling point of Office 2016 seems to be that you only pay once for the software and after that Office is yours to keep.

microsoft office download

The basic version, Office Home & Student 2016, costs about US$150 and can be installed on just one PC. This basic version includes Word, Excel, PowerPoint and OneNote, but none of the other Office programs, which must be purchased separately, or as part of a more expensive package.

For example, the more expensive Microsoft Office Home & Business 2016 includes the powerful Microsoft Outlook email and calendar program.

The benefit of purchasing and downloading Office Home & Student 2016 is that you only have to pay for the software once, and after that you own it. With Office 365 you are forced to renew your subscription once a year for around US$100, or risk losing access.

The Downsides of Purchasing Office 2016

So, you’ll have Office as long as you own your computer, and you’ll never have to worry about Microsoft suddenly upping the price of a subscription.

On the downside, Office 365 is regularly updated with new features, while Office 2016 only receives security updates. The subscription service also comes with 1TB of OneDrive storage, while Office 2016 usually does not—OneDrive online storage will cost extra for Office 2016 purchasers.

Besides that, the basic version of Office 2016 can only be installed on just one computer. Office 365 Home, on the other hand, can be installed on at least 5 PC’s.

Still, many computer owners are still getting used to the idea of subscribing to a software program or online service. It’s hard to get used to simply “renting” a software program rather than purchasing it outright.

But the benefits of subscribing to Office 365, especially if you own a number of computers, cannot be underestimated.

Which do you prefer? Paying for a subscription, or paying to actually own your own software? Let us know by emailing info@compuclever.com.

A Simple Cheat Sheet for Understanding the Difference Between Office Live, Office 365 and Office 2016

  • Office Live is the free online version of Microsoft Office; Office 365 is an annual subscription service, while Office 2016 is a one-time purchase.
  • Both Office 365 and Office 2016 are installed on your computer.
  • If you stop subscribing to Office 365 you will no longer be able to use Office on your computer; Office 2016 is forever.
  • Office Live offers use of free, simple versions of Word, Excel and PowerPoint.
  • Office 365 includes 1TB of online storage, while the basic version of Office 2016 does not.
  • Office 365 Home can be installed on 5 computers; Office 2016 can be installed on one computer.

Filed Under: Blog, cloud storage, Windows tips

How to Protect Your Computer from Ransomware

April 29, 2016 by Charles Edward

Ransomware is the latest threat to afflict millions of computer users worldwide. What’s really startling is that even police departments are being affected. Let’s take a look at what ransomware is, and how you can protect yourself against it.

Cyber-criminals have so far collected more than $200 million in the first three months of 2016, and are on track to steal $1 billion by the end of the year.

How?

By tricking regular people, as well as businesses and institutions, to download “ransomware” that takes control of computers and servers. If you want to unlock your computer data, you have to pay the crooks.

It’s a lucrative scam and no one is safe: hospitals, school boards and even police departments have all been blackmailed by ransomware criminals so far this year.

You Don’t Even Have to Download Ransomware to Infect Your Computer

Most recently, Game of Thrones fans were targeted by ransomware just by visiting the Pirate Bay video downloading site.

What’s most frightening about this example is that the visitors to the Pirate Bay didn’t actually download any malicious files.

Instead, all they did was get secretly redirected to a webpage that exploited common security holes in their Internet browser. Ransomware was “injected” into their computer before they knew what was happening.

What is “Ransomware”?

Ransomware is a type of malware—a malicious software program—that, once installed, takes over your computer. Ransomware may prevent your computer from working properly. It can also encrypt or lock away important data, including photos and music files.

The only way to regain control of your computer is to pay off the ransomers, usually by wire transfer or some other untraceable payment method.

How Does Ransomware Get Installed In the First Place?

Sometimes ransomware is downloaded and opened by accident. You may think you are downloading a video file or a useful software program, but in reality you are installing ransomware on your computer.

Sometimes people claiming to be “MS tech support” call you up, and persuade you to download what they claim is some sort of computer utility program.

They walk you through the process, step-by-step, over the phone, to download the ransomware.

Still, what is the most common ransomware “exploit”?

Your Internet browser. Thanks to weak coding, Internet browser security vulnerabilities are being found by cyber-crooks all the time. Visit the wrong web page by mistake and ransomware is downloaded automatically onto your computer.

Once downloaded, a common ruse to complete installation of the ransomware is for a pop-up screen with an “FBI warning” to appear on your computer. Push any button on the popup and the ransomware installation process gets finished, and your computer is hijacked.

Police departments and other government agencies can’t provide much help—they are overwhelmed by other problems and simply cannot track down the cyber-criminals.

So, to get rid of the ransomware and regain control of your computer, the only thing you can do is pay off your hijacker.

Or, you can take steps to avoid downloading the ransomware in the first place.

How to Protect Your Computer from Ransomware

1) Make sure you have antivirus installed

Make sure you have a current, legitimate antivirus program installed on your computer. Antivirus continuously scans for Internet attacks and malicious web pages that try to download ransomware without you knowing it.

Did you know CompuClever offers a comprehensive Internet security solution that continuously blocks Internet attacks and malicious web pages that try to download ransomware without you knowing it?

Check out CompuClever Antivirus PLUS, an innovative security software. CompuClever Antivirus PLUS has received a full mark with a rating of “SOLID” from the prestigious VB100 antivirus testing lab.

2) Hang up the phone on “Microsoft tech support”

Microsoft or any other software company never, ever phones (or emails), offering to help fix a problem they have identified on your computer. If someone claiming to be from tech support phones you up, hang up the phone immediately.

3) Backup your files on an external disk

Make sure important such as photos, music and videos are stored on an external backup drive. Backing up data is easy to do, thanks to cheap USB drives that now have more storage space than some laptops.

If you do download ransomware, before paying the cyber-crooks a single cent, ask a computer-savvy friend for help or obtain professional tech support.

There are many reputable programs and utilities that can help you gain control of your computer.

Have a request for Tech Corner? Email me at newsletter@compuclever.com.

Filed Under: Blog, online security Tagged With: computer scam, hacking, how to, malware, online identity, pc tips

Tech Corner: How to Extend Your Home WiFi With Just a Soda Can

April 25, 2016 by Charles Edward

“A strong WiFi signal makes for a happy home,” should be the new adage for the 21st Century. At least that’s been my experience based on the turmoil my own home falls into when the WiFi is not working properly!

Here are some tips for improving the range of your home WiFi setup.

Note: This trick works best with a wireless router that has external antennas. If your WiFi router doesn’t have antennas, we also provide tips on how to improve home WiFi signal in the 2nd half of the article.

Thanks to PC’s, smartphones, laptops, tablets, iPads, iPods and other mobile gizmos, a strong WiFi signal has become a necessity for modern life.

Everyone in the family now depends on a mobile device to listen to music, binge-watch the latest TV series and communicate with friends.

Beware the WiFi “Dead Zone”

However, it’s also a fact of life in the 21st Century that your home WiFi signal is not always reliable. There always seems to be one or two “dead zones” in the house where there is just no WiFi signal.

It’s annoying for whoever enters a dead zone, and it’s also a challenge for whoever is tasked to somehow solve the problem!

And, unless your hobby is wireless networking, setting up a wireless bridge or repeater is time-consuming and frustrating.

In today’s edition of Tech Corner we have come up with a nifty solution for fixing WiFi dead zones.

How to Extend Your Home WiFi With A Soda Can

If you can believe it, all it takes to extend your WiFi signal is an empty soda can. This trick takes about two minutes to do, and only requires everyday household objects.

Note: as mentioned, for this trick to work, you’ll need a router with an external antenna.

What You’ll Need

  1. A clean soda can
  2. A pair of sharp scissors
  3. A sharp “box cutter” utility knife
  4. Some mounting putty
  5. A router with an external antenna

Step 1: Prepare Your Can

Any clean, empty and dry soft drink can will do. The only preparation you need to do, apart from washing it, is to remove the tab.

how to extend home wifi

Step 2: Cut the Base of the Can Completely Off

You’ll want to saw off the bottom of the can. You can do this with a box cutter or Exacto knife.

NOTE: Don’t cut off the top of the can—the hole in the top of the can plays an important role in our homemade antenna.

Step 3: Cut Off *Most* of the Top of the Can

Using your utility knife, cut most of the top of the can off. Leave about two centimeters of can, right behind the hole in the top.

how to extend home wifi

Step 4: Cut Open the Can

Cut along the middle of the can in a straight line, opposite to the piece of metal attaching the base.

how to extend home wifi 3

Step 5: Make Your Antenna

Being careful, open up the middle piece of metal by bending it until it vaguely resembles the shape of a radar dish.

Affix some mounting putty to the bottom and slide over the antenna of your WiFi router. If you have two router antennas, try making two pop-can boosters!

how to extend home wifi 6

If you try this out, let us know how it works by sending an email to newsletter@compuclever.com.

More Tips for Improving Your Home WiFi Signal

Here are a few additional tips for improving your home Wifi signal:

1) Make sure your WiFi router is located in a central location

If you can, make sure the router is located in the center of your house, on a top floor. Radio waves best travel down and laterally.

2) Make sure the router is located as high as possible

The WiFi router should be located off the floor, ideally on a wall mount or high shelf.

Also, make sure there are no large items of furniture blocking the signal if possible.

3) Keep away from metal… and mirrors

Metallic surfaces, such as filing cabinets will affect your WiFi signal. Mirrors will as well.

Have a request for Tech Corner? Email me at newsletter@compuclever.com.

Filed Under: Blog

How to speed up your Internet connection

October 16, 2012 by Charles Edward

Thanks to an increasing reliance on Internet to do everything from stream movies to facilitate Skype video calling, most of us wish we had a faster Internet connection.

In fact, as more and more people in our homes (such as teenagers!) are using more and more Internet-connected devices, including iPads and smartphones, and even Internet-connected televisions, we have to squeeze more speed out of home Internet connections that are often slowed down by bandwidth restrictions imposed by ISP’s.

Get faster Internet by upgrading hardware

Changing your ISP to get better Internet connection is usually not an option – most ISP’s have the same bandwidth restrictions, and they’re not interested in helping you get faster Internet. However, one way to get faster Internet is to upgrade your hardware – you can upgrade from ADSL to a cable broadband modem, for example.

You can also invest in a newer wireless router. If you’re experiencing slow internet speeds and you’re using a wireless home network to connect to the Internet, it’s also a good idea to see how many other wireless networks you are competing with.

Why?

The more wireless networks, the slower your Internet. A great tool to check out how many wireless networks are close by and potentially interfering with your wireless signal is inSSIDer.

A sluggish PC can also slow down Internet

But even if you manage speed up your Internet connection, it won’t make any difference if you have a sluggish or  ill-tuned PC – your computer itself will still prevent you from enjoying faster download times or seamless HD streaming.

In this case, you should look at tweaking your PC to squeeze as much Internet speed as it can out of your ISP.

3 steps for optimizing your PC and enjoying faster Internet

In order to optimize your PC and enjoy faster Internet, you need to look at three different areas:

1. System and Internet Settings

Take a look at the System and Internet Settings for your PC – there are ways to tune these settings to maximize both the system speed and the network speed.

As a shortcut to save time (and possibly save you from tweaking the wrong setting in your computer!), PC TuneUp Maestro provides tuning for both System and Internet Settings.

To adjust both settings and help speed up Internet, open the PC TuneUp Maestro, click Optimize, and Click System TuneUp to optimize your system settings and Internet TuneUp to optimize Internet and network settings.

2. TuneUp your hard drive by defragging it

“TuneUp” your hard drive by defragging it so that it reads and writes files much faster.

Defragmentation is a process that reduces the amount of fragmentation in file systems. It does this by physically organizing the contents of the disk to store the pieces of each file close together and contiguously. The result is that your computer has optimal access to its files and programs, so your system and application response times are improved.

To defrag your hard drive, launch PC TuneUp Maestro, click Optimize and click Disk Defrag.

3. Optimize your web browser – reset Explorer to its factory state

Finally, you’ll need optimize the web browser itself if you want to enjoy faster Internet speeds.

Most of us tend to add a lot of toolbars, plugins and other addons to our browsers. Sometimes when we download a program these toolbars and plugins are added whether we like it or not.

Every single thing you add to your web browser slows down your Internet.

Luckily, if you are using Internet Explorer, PC TuneUp Maestro provides a fantastic feature to reset your Internet Explorer to its default factory clean and fast state.

To use this feature, open PC TuneUp Maestro, click Fix & Clean, choose Internet Explorer Repair, locate the entry labelled “Reset Internet Explorer” and and click the Reset button.

Enjoy faster internet without giving your ISP more money

While acquiring a faster Internet connection from your ISP may seem like a good idea, it really pays to take a look at your PC first to see if you can squeeze any more speed out of it before signing up for a new expensive plan.

Often there are Settings that can be adjusted, or ways to strip useless addons from your web browser to speed up your Internet. Defragging your hard disk can also provide some pleasantly surprising results.

So, rather than signing up for an expensive plan, learn more about your computer, and get some satisfaction optimizing it yourself and improve Internet speeds.


Filed Under: Blog, computer fixes, improving performance

  • « Previous Page
  • 1
  • 2
  • 3
  • 4
  • 5
  • 6
  • …
  • 15
  • Next Page »

Don't miss out

Get a copy of "5 Tips for a Fast PC" when you sign up for our free "PC Tips" newsletter.

Subscribe Now
Archive Newsletter

Recent Posts

  • Ultra File Opener 5.7 Release Note

    Ultra File Opener 5.7 Release Note

    July 24, 2018
  • How Blue Light Affects Your Health and What to Do About It

    How Blue Light Affects Your Health and What to Do About It

    May 11, 2018
  • How to Protect Your Privacy & Identity on Facebook – Part 2

    How to Protect Your Privacy & Identity on Facebook – Part 2

    April 18, 2018
  • Facing the Truth – Facebook & Privacy

    Facing the Truth – Facebook & Privacy

    April 7, 2018
  • Spectre and Meltdown:  Massive Security Holes Impacting All Mac and PC devices

    Spectre and Meltdown: Massive Security Holes Impacting All Mac and PC devices

    January 12, 2018
  • How to Fix Computer Sound Problems

    How to Fix Computer Sound Problems

    December 19, 2017
  • Correct Ergonomics Sitting at a Computer Desk

    Correct Ergonomics Sitting at a Computer Desk

    November 17, 2017
  • Five Useful Tips and Tricks for Windows 10

    Five Useful Tips and Tricks for Windows 10

    August 27, 2017
  • Going Incognito – Browse Web in Privacy Mode

    Going Incognito – Browse Web in Privacy Mode

    August 4, 2017
  • Don’t be Held at Ransomeware

    Don’t be Held at Ransomeware

    July 14, 2017
Contact Us | Privacy Statement | Terms of Use | EULA | Partner With Us | Uninstall | Blog
CompuClever© Systems Inc. 2023 All rights reserved.
Microsoft is a trademark of the Microsoft group of companies. All other trademarks are the property of their respective owners.